Community tool
Paint Matcher
Pick a surface type for roughness, metallic, and step-by-step camouflage presets before your next hider round.
Open Paint Matcher →Painting is the core mechanic that separates Meccha Chameleon from prop-hunt clones. Seekers do not just look for props—they scan for wrong roughness, line direction mismatches, and flat single-tone blobs. This guide walks through the full paint workflow from eyedropper sampling to surface-specific texture tricks.
For keybinds, read the Controls Guide first (F = paint menu, Space = eyedropper, Left Click = apply).
1. Standard Paint Workflow
[Pick spot] ──> [F: Open paint] ──> [Space: Sample] ──> [Paint base] ──> [Add lines] ──> [Tune roughness] ──> [R: Lock pose]- Pick your hide location before opening the menu. Moving mid-paint wastes time and risks exposure during the release phase.
- Open paint (F) — your feet freeze; use Right Click to orbit and inspect angles.
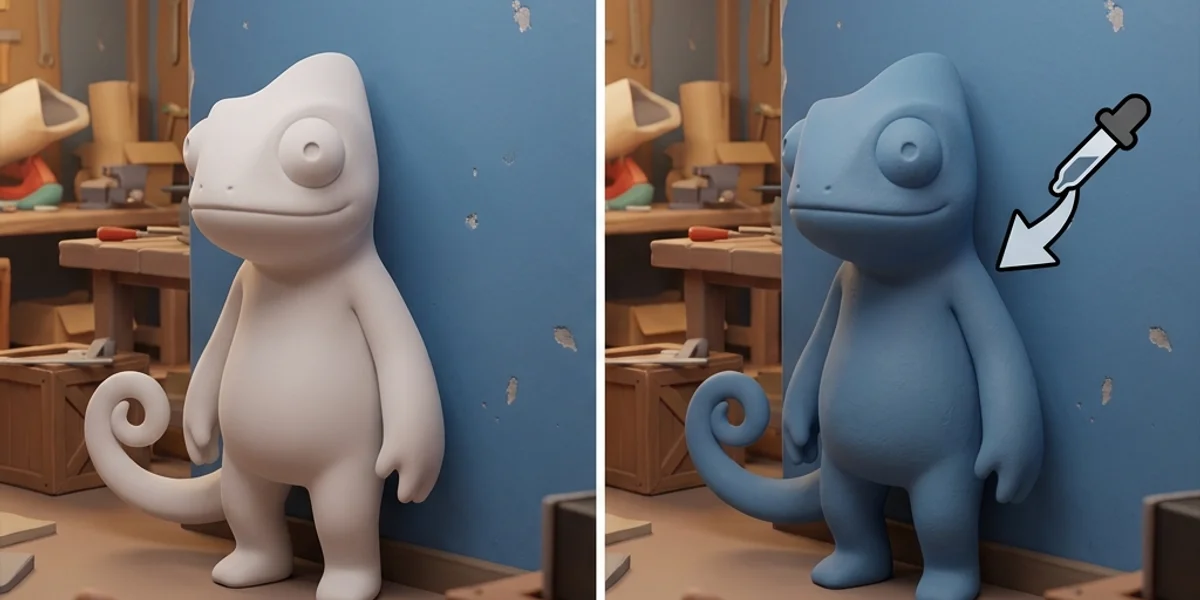
- Sample (Space) — aim the crosshair at the adjacent wall/floor, not your character. Sample twice if lighting shifts between prep and hide phase.
- Paint base regions — head, torso, limbs in large strokes. Cover uniformly before adding detail.
- Add structural lines — match wallpaper seams, tile grout, wood grain, or panel edges.
- Adjust roughness / metallic — matte for drywall and carpet; lower roughness only where the environment has shine.
- Lock pose (R) — choose a stance that hides silhouette depth. See the Pose Guide.
Use the interactive Paint Matcher for quick presets by surface type (concrete, wood, metal trim, glass).
2. Color Layering (2–3 Tone Rule)
One flat hex value fails under seeker flashlights because real environments have gradient lighting.
| Layer | Purpose | How to apply |
|---|---|---|
| Base | Match the primary wall/floor color | Eyedropper sample from mid-tone area |
| Shadow | Darken recessed limbs (under arms, leg joints) | Manual darken ~10–15% or second sample from shadow |
| Accent lines | Break the human outline | Thin strokes following horizontal/vertical seams |
Pro tip: Step back with Middle Click (camera reset) and Right Click orbit after each layer. Seekers view you from 5–15 meters—what looks perfect up close often reads as a neon blob at distance.
3. Roughness & Metallic by Surface
Unreal Engine 5 materials react to the seeker’s flashlight beam. Incorrect specular highlights are the #1 giveaway on experienced lobbies.
| Surface | Roughness | Metallic | Notes |
|---|---|---|---|
| Drywall / plaster | High (matte) | None | Default for Mansion interiors |
| Wood paneling | Medium-high | Low | Add thin vertical lines matching grain |
| Metal pipe / rail | Low | Medium | Common on Sewer — partial match beats full-body shine |
| Glass / marble | Low | Low–medium | Penguin Hotel lobby; paint only visible limbs |
| Carpet / fabric | Very high | None | Hides specular; good for curl poses in clutter |
If your character glows white under flashlight sweeps, see Paint Bug White Glow Fix.
4. Line Direction & Scale
Lines sell the illusion more than color accuracy.
- Match axis: Horizontal lines on wainscoting, vertical on door frames, diagonal only when the background is diagonal (rare—avoid unless confident).
- Scale: Line thickness should match the environment. Mansion wallpaper joints are thin; Backrooms panel gaps are wider.
- Break symmetry: Perfect mirror painting looks artificial. Offset one arm line by a few pixels to mimic natural wear.
Advanced players layering noise and decals should read Advanced Painting Textures.
5. Prep Phase vs Active Round
| Phase | Time | Focus |
|---|---|---|
| Lobby prep (~90s) | Full paint + pose test | Orbit camera from seeker angles; fix roughness |
| Release countdown | No paint menu | Position only—do not reopen F mid-air |
| Active hide | Touch-ups only if safe | Seeker in another zone; quick F for smudges |
During prep, use see-through preview mode if available (community keybind 3 on default layouts—confirm in Controls).
6. Common Painting Mistakes
- Neon / oversaturated samples — sampling from lit posters or screens instead of the hide surface.
- Painting in the open — long paint sessions in doorways; finish in cover.
- Ignoring feet — seekers crouch-sweep floor level; paint shoes and legs.
- One pose fits all — tall wall-flat pose on a low couch; mismatch beats bad color.
For role-specific hiding after paint, continue to Hider Tips.
7. When the Eyedropper Lies
Dynamic lighting, HDR monitors, and post-processing can skew samples.
- Sample from neutral-lit patches (away from windows and seeker flashlights).
- Re-sample after v1.2.0 lighting changes on Backrooms and Penguin Hotel maps.
- If the picker returns flat white or black, follow Color Picker Broken Fix.
On Steam Deck, calibrate brightness before competitive hides—see Steam Deck Hider Tips.