
Space Station Workshop Map Guide
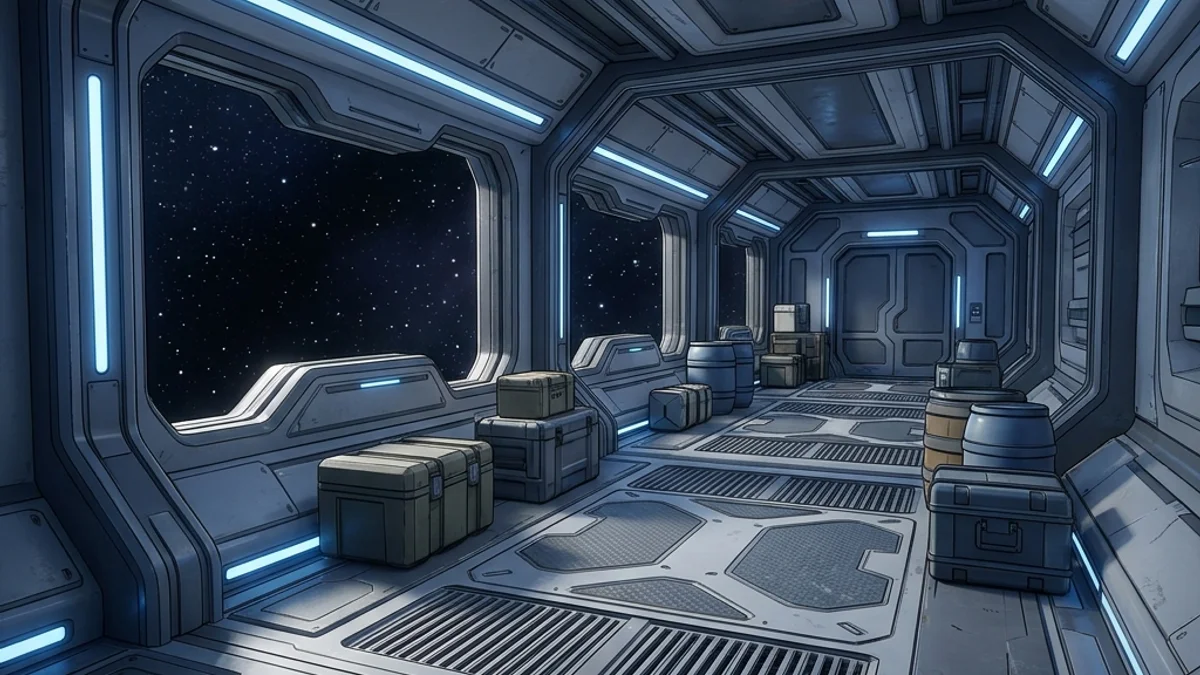
The Space Station Workshop map is a large-sized, sci-fi themed arena situated in a retro-futuristic orbiting facility. The map features a main control bridge, a laboratory, an engineering bay, a massive reactor room, interconnected maintenance corridors, and airlocks. The environment is characterized by sterile metallic paneling, blinking control consoles, pipes, and viewports looking out into deep space.
This guide provides a comprehensive breakdown of the map’s layout, strategic hiding spots, and seeker clearing routes to help you survive in the cold vacuum of space.
Map Overview & Layout Analysis
The Space Station is designed around a central hub corridor connecting four main research and engineering wings:
                            SPACE STATION LAYOUT

                 +------------------+------------------+
                 |            [Control Bridge]         |
                 |          (Monitors & Consoles)      |
                 +--------+------------------+---------+
                 |        |                  |         |
                 | [Airlock]    [Central]    | [Science|
                 | [Corridors]  [Hub Corridor] | [Lab]   |
                 |        |                  |         |
                 +--------+---------+--------+---------+
                 |            [Reactor Room]           |
                 |         (Core Pipes & Generators)   |
+-------------------------------------+- Control Bridge: Located at the front. Features curved console desks, massive screens, rotating radar dishes, and captain chairs.
- Central Hub Corridor: The main spine connecting all sections. Clean metal plates, occasional floor vents, and overhead emergency lights.
- Science Lab: Filled with server racks, microscope stations, canisters, glass test tubes, and chemical flasks.
- Reactor Room: A multi-level chamber featuring a glowing fusion reactor core, steam vents, cooling pipes, and heavy iron flooring.
- Airlock Corridors: Low-gravity zones on the periphery with double-door airlock chambers, hazard stripes, and yellow warning lights.
Detailed Hider Strategies
1. Metallic Panel Integration (Central Hub)
The station walls are constructed from uniform, modular steel plating.
- Positioning: Stand directly against a flat section of the wall between structural support columns.
- Texture Matching: Sample the wall plate color, then set metallic to
0.9and roughness to0.15. This allows the dynamic ceiling lights to reflect across your character’s body in the same direction as the metallic walls. - Lines: Paint thin, straight black lines horizontally and vertically to simulate the seams between individual wall panels. For details on brush precision, consult the Painting Basics Guide.
2. The Server Rack Mimic (Science Lab)
The server racks in the Science Lab are identical vertical cabinets with flashing green and red LEDs.
- Positioning: Align yourself directly between two server cabinets.
- Pose: Use the standing pose and press yourself backward against the server racks.
- Coloring: Paint your body a matte charcoal grey. Draw vertical columns of alternating bright green and red squares down your sides.
- Result: A seeker walking through the lab will glance at the row of server racks, and the flashing LED pattern on your body will blend seamlessly with the actual server racks.
3. Airlock Hazard Blend (Airlock Corridors)
The hazard warning stripes near airlocks offer excellent patterns to confuse the visual scanning of seekers.
- Positioning: Stand directly in front of the yellow and black hazard lines painted on the floor or around the airlock frame.
- Painting: Paint your body in alternating diagonal stripes of bright yellow and charcoal grey at a 45-degree angle.
- Alignment: Match the angle and thickness of the map’s stripes. When a seeker opens the airlock, your silhouette will blend into the door frame warning graphics. If you experience lag or frame-drops when loading this map, see the Game Freezes Mid Match Fix for optimizations.
Seeker Counters
1. Flashing Light Discrepancy
Because hiders often paint lights (LEDs, warning lights) on their body, they are static texture paintings, whereas the map’s actual lights are dynamic.
- Verification: Real server rack lights and reactor core emissions blink using the game’s shader loop. Painted lights do not blink.
- Check: Stare at a suspicious console for 2-3 seconds. If the “lights” are static and do not flicker or flash, it’s a hider.
2. Shadow Angles near Viewports
The viewports looking out into space let in strong, directional starlight that casts long shadows.
- Visual Sweep: Scan the floor near the viewports.
- Shadow Check: Since the starlight is cast from outside the station, any prop standing in front of the window should cast a shadow pointing inward. If you see a shadow pointing at an odd angle (due to the hider’s model collision interacting with other light sources), shoot them.
- For players experiencing connection errors while joining Space Station lobbies, check the Lobby Password Not Working Fix or the Stuck on Connecting Fix.
Platform Compatibility & Performance (CVL)
The Space Station features advanced reflections and particle systems, requiring system tweaks on some setups:
- Steam Deck: Rated Playable. The reactor room can cause drops to 30-35 FPS on default settings. Lower the shader quality to Medium to maintain 60 FPS.
- Mac OS (CrossOver): Rated Stable. Works well under modern wine translations; ensure DXVK is enabled in your configuration to avoid panel rendering bugs.
- For the complete listing, check the Compatibility Index Page.